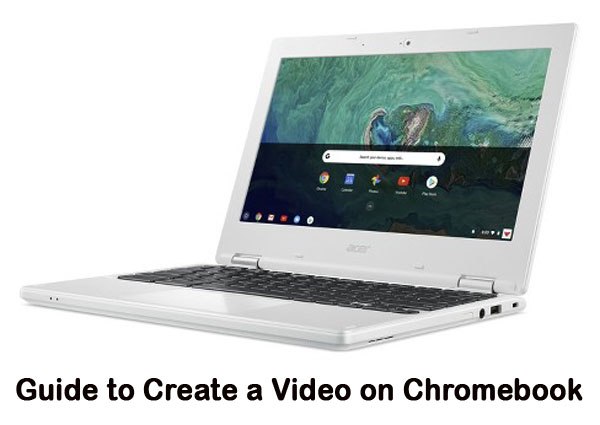
Guide to Create a Video on Chromebook
Chromebook is any portable PC which is equipped with the installation of Google Chrome OS software. It is an alternative to the traditional laptop or tablet. Making short video clips on a Chromebook is simple and swift. For this, you require a Chromebook with a camera and your device must be link to your Google Drive account.

Here are the steps to guide you for capturing the action in the form of video on Chromebook:
1. Launching the Camera App
First, you have to log into your Chromebook then you have to follow the given steps:
- Press the “menu” option placed on the bottom left corner of the desktop.
- Text “camera” in the search bar.
- Ensure that the camera icon is chosen.
- Click “Enter” on your keyboard or double-press the camera button.
2. Switching to the video mode
The camera app launches in camera mode, by default. For switching it to the video mode, press the icon that seems like video camera placed at the bottom center of the app page. Now, you can make your first Chromebook video clip.
3. Making your first video
Press the round red recording button placed in the bottom center of the camera app page along with the camera in video mode. You are now creating your video on Chromebook. The camera option will lightly pulse, and its icon will alter slightly to a more solid camera while making your video. Once you have completed the video making session, press the red button again and then the filming session will stop. It is noted that you have to need adequate lighting for making a video. Natural lighting is the best option. If you can’t film out of the home, then you can shoot your video in a room that is quite well illuminated.
4. Saving your video
After the completion of the filming session, you require to save the video by the following steps:
- Choose the “Gallery icon” placed in the bottom-right corner of the camera app.
- Choose the video that you want to save within the Gallery.
- Press “Save” placed in the bottom right corner of the Gallery app.
After pressing the Save option, a new window will open to assist you to decide where to save the files. As your Chromebook is attached with your Google drive account, you have the option of saving it to the Cloud. If you desire to save it to the local drive, then insert it in the “Downloads” folder within “My Files”.
5. Giving the name to your video
The default name will be VID_DATE_TIME. webm where DATE and TIME depict the date on which your video filmed and time for the same. Although you can’t rename your video while saving your video, you can rename it later.
If you desire to rename your video then follow given steps:
- Press the “menu” option placed at the bottom left corner of the desktop.
- Search the word “files”
- Double-press the “Files” app.
- Browse the folder housing your video.
- Two-finger click on the video clip file.
- Choose “Rename”.
- Insert a new name.
- Click “Enter”.
With this process of making a video, you can utilize this video for uploading it on YouTube as YouTube supports .webm file format. You can also convert your .webm video file to another file format like .mp4.
Aron Smith is an inventive person who has been doing intensive research in particular topics and writing blogs and articles on QuickBooks Support and many other related topics. He is a very knowledgeable person with lots of experience.
Comments
Post a Comment